Last updated on April 17th, 2023 at 03:07 pm
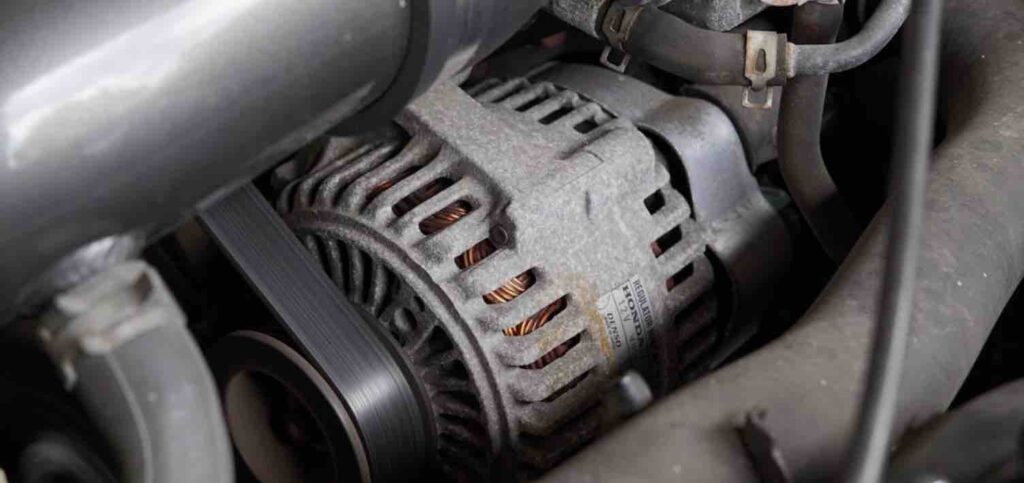
An alternator is essential to a car’s electrical system, charging the battery and powering various accessories of your vehicle.
Over time, however, alternators may fail, leading to problems such as dimming headlights or other electrical malfunctions. Therefore, regularly testing its health with a multimeter is essential.
In this guide, we’ll cover various methods of testing an alternator’s health using a multimeter.
We’ll cover topics like testing it out of the car, testing its voltage regulator, and measuring alternator amps.
With this guide, you can diagnose if your alternator is bad and take the necessary steps towards fixing it yourself – potentially saving lots of money on repairs! So let’s get started!
how to test alternator with multimeter
Checking an alternator with a multimeter is easy – this guide will walk you through each step so that you can do so accurately.
Step 1: Get the required Tools.
Before you begin, a multimeter is essential in this process, as indicated in the title of f this article. And you can purchase it online here or at most electronic hardware stores that sell car parts. You will also need the simplest wrenches (see this one) to help access the alternator and disconnect car battery terminals.
Here are a few safety tips:
- To prevent injury, work in a well-ventilated place to avoid injury, an open space preferable, or your car garage with enough vent.
- If you don’t have a glove, buy one; it helps protect you from any spark and electro current from the battery in case of a misconnection or mistake.
- You may also consider getting safety glasses, though this is optional; wearing them won’t hurt.
When fully suited, move on to the next step.
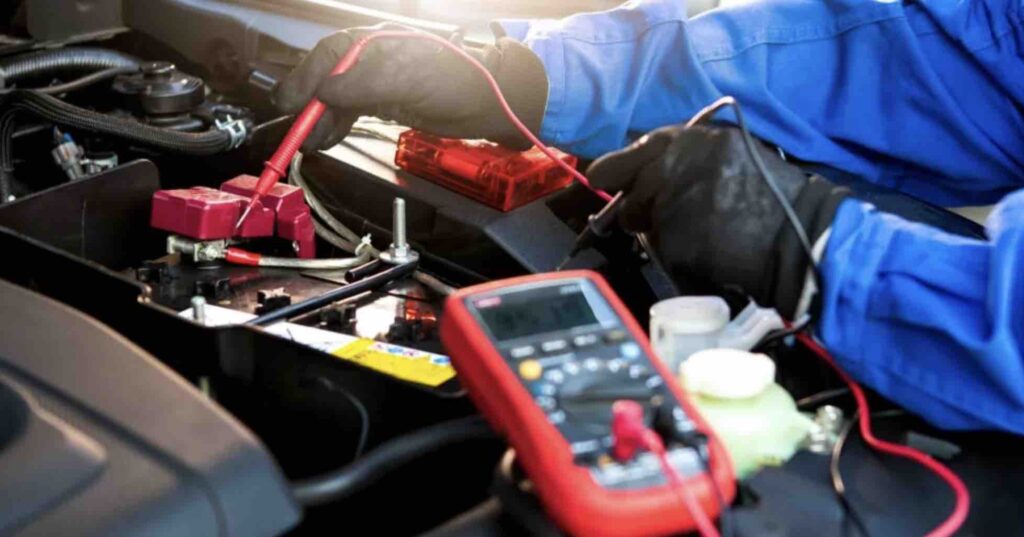
Step 2: Check Your Battery Voltage.
- The first step is to test an alternator with a multimeter volt section and check the voltage. This provides a baseline reading you can compare later when testing different units.
- So you want to start by turning on your multimeter and setting the multimeter voltage section to 20 volts; take it off the car and record its reading; next, touch the positive terminal of your battery with its probe from the multimeter; finally, attach the negative probe to its negative terminal as well.
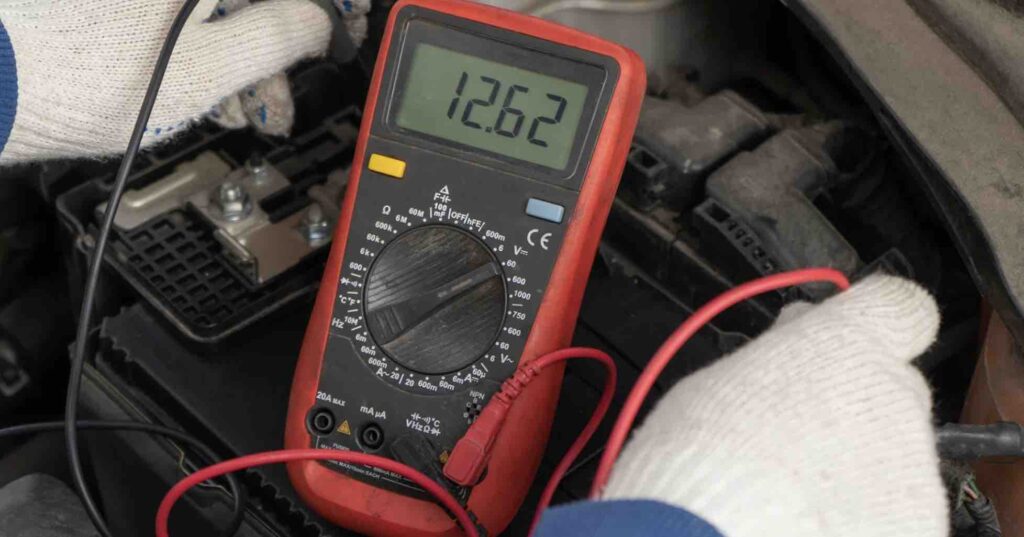
- If your battery reads around 12.6 volts or higher, then that means that your alternator is fully charged.
Step 3: Start the car to check its voltage.
The next thing is for you to turn your car ignition back on to check the voltage reading again. This step will help you to see how well your alternator is charging your battery.
Please take out a multimeter from inside the car and note its reading; place one probe near each positive terminal and one near each negative one.
If both readings come back around 14 volts, your alternator is working properly, and your battery has been fully charged.
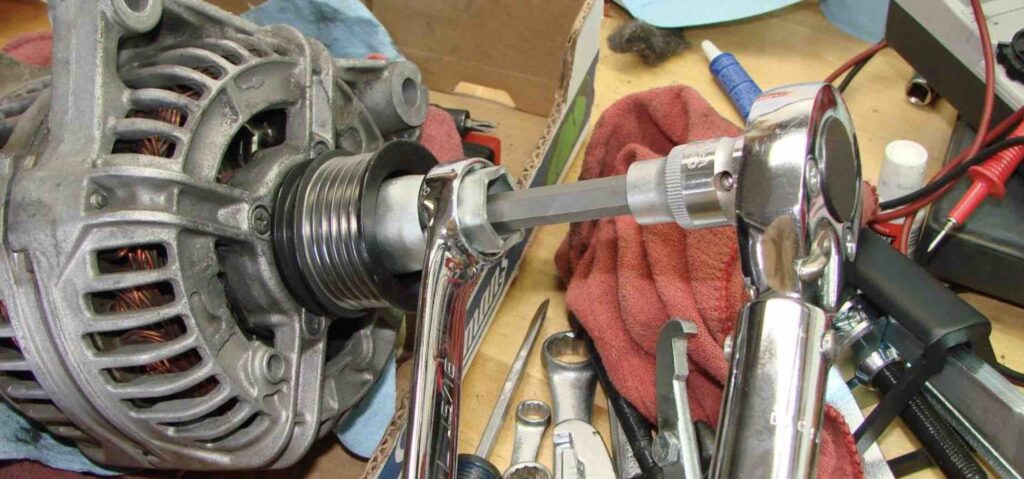
Step 4: Test the Alternator Under Load
Now, you must turn on all car accessories like headlights or air conditioners to test your alternator.
Take your multimeter off the car and note its reading; ensure the positive probe of your multimeter touches the positive terminal of your battery while the negative probe touches its negative terminal.
Your alternator should read 14 volts or higher when under load – it may need replacing if the reading drops below 14 volts.
Step 5: Interpret the Results.
Once you’ve finished checking the readings, it’s time to interpret the results. Both components should be functioning correctly if your battery is fully charged and your alternator produces 14 volts or higher.
If neither is working correctly after both components have been charged simultaneously (and they appear both low), you could need to replace both).
If you like to know how to test the battery and alternator with a multimeter together, follow the topic below
Tips on How to test battery and alternator with multimeter
Here are a few tips on testing your battery and alternator with a multimeter:
Tips for when testing the Battery:
- First, turn off all electrical accessories like headlights, radio, and air conditioning.
- Set your multimeter to measure DC voltage (usually shown as “V” with a straight line above it).
- Connect the red probe to the positive terminal of the battery and the black probe to its negative terminal.
- Test the voltage reading on a multimeter. A healthy, fully charged battery should read between 12.6 and 12.8 volts. If it falls below 12.4 volts, your battery may need charging or is weak.
Tips for when Testing an alternator:
- Start your engine and let it idle.
- Set your multimeter to measure DC voltage.
- Connect the red probe to the positive terminal of your battery and the black probe to a reliable ground, such as an engine block.
- Check the voltage reading on a multimeter. A healthy alternator should produce a battery reading of 13.8 to 14.2 volts. If it drops below 13 volts, their strength may be having an issue, which is leading to inadequate charging of your battery.
- You can test the alternator by revving the engine up to 2,000 RPM and checking its voltage reading on a multimeter again. Ideally, it should rise to approximately 14.5 volts.
- It’s essential to note that these tests are only basic diagnostic assessments, and there may be other factors affecting the performance of your battery and alternator. If you suspect there may be an issue with either, having them professionally inspected and diagnosed is always a wise idea.
Testing your alternator with a multimeter in your car is an easy process that takes only minutes to complete, which will help determine whether there is an issue with your vehicle’s alternator or if it is other parts that might be to blame.

Uchenna is a Radiographer and Auto parts mechanic who recently got his automotive diploma as an auto repair technician, and since then, has worked on fixing various car problems.
Working as just a radiographer, Uchenna didn’t just get all the fulfillment he desired, because he truly loved doing things tilted toward cars. As a kid, he would take apart his toy cars to see how they worked and would spend hours tinkering with his bike.
So, in 2017 he made the tough decision to become an auto mechanic. He threw himself into his studies and now loves every aspect of what he does.
He gets to work with his hands, solving problems and bringing cars back to life, and sharing his knowledge and easy quick-fix guide online are all part of what makes him feel fulfilled.