Last updated on April 17th, 2023 at 03:07 pm
This post on how to test an alternator off the car will guide you every step of the way if you are experiencing a car battery that just won’t hold a charge. Or maybe you noticed the headlights dimming while you are driving at night.
These are signs that your alternator may be going bad, and sometimes it could be that your battery is going bad, so let’s not just blame it all on the alternator. But how do you test it to make sure it’s your alternator and the car battery? So let’s first ensure we understand what an alternator is in a car and what it does.
What is an alternator in car?
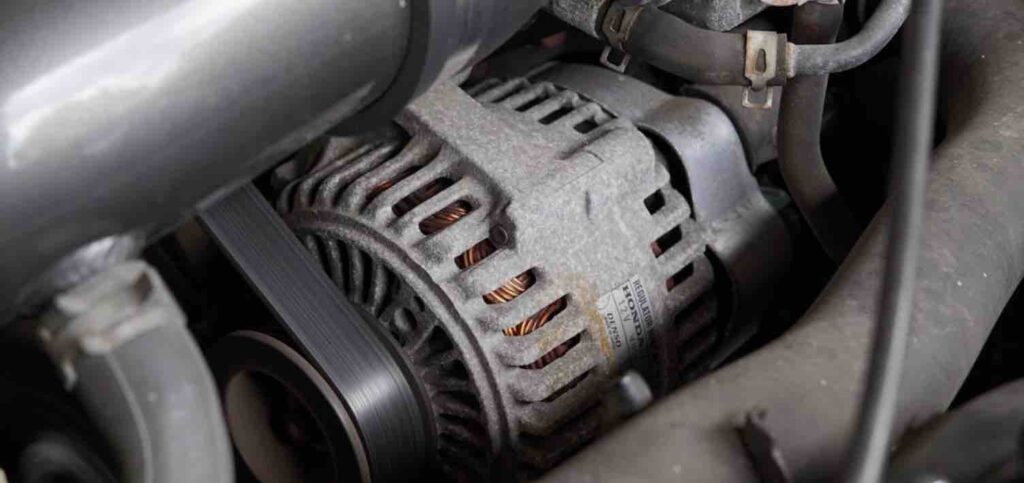
An alternator is an essential element of your car’s electrical system and plays an important role in the smooth running and performance of the vehicle. The alternator is like a mini-power plant that converts mechanical energy from your engine into electrical energy, which helps power everything inside your car, such as headlights, air conditioners, the radio, etc.
An alternator uses a rotor (magnet) and stator (set of wire coils) to produce electricity. As these move in sync with each other, magnetic fields created by their spinning create current in these wire coils, which in turn send it to your car’s battery, providing power for all its electronic components.
The alternator produces power and regulates voltage in an electrical circuit. This ensures that the battery receives sufficient charge and the voltage meets all system requirements.
Your car’s batteries would quickly drain their energy, and all electrical components would cease working – so to prevent future issues, make sure your alternator is in optimal condition.
Steps on how to test an alternator off the car
Testing an alternator off your car can be a bit tricky, but don’t worry, now that you are here, I will walk you through the step-by-step process!
Steps to testing an alternator off the car
Step 1: Gather Your Tools
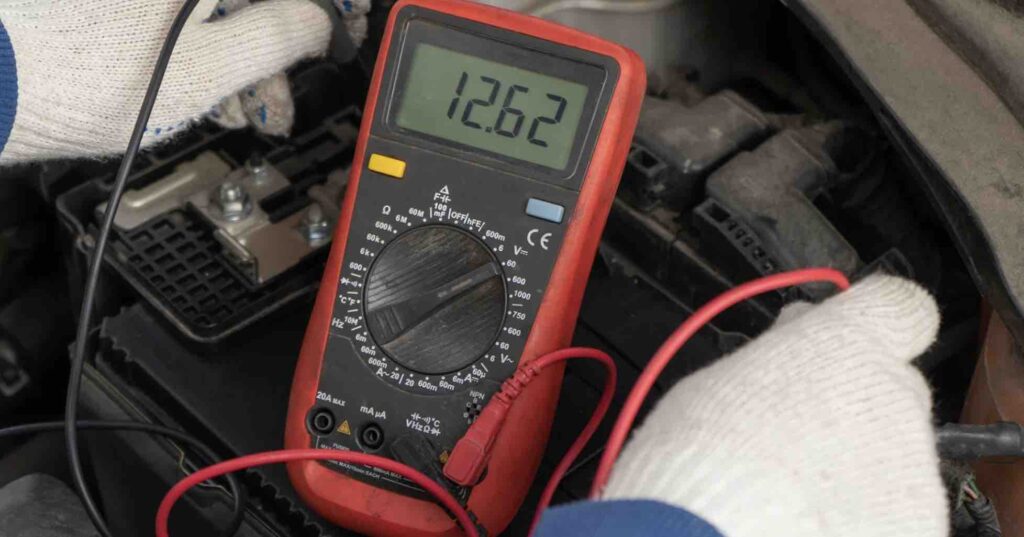
Before testing your alternator, be sure to have all necessary tools, such as a multimeter, voltage regulator, socket wrench and jumper wires, on hand. With these items ready, it will be much easier for you to conduct the tests properly.
Here is a list of items that you will need:
- Multimeter
- Voltage regulator
- socket wrench set
- Car Jumper wires, that is, a car jumper cable kit
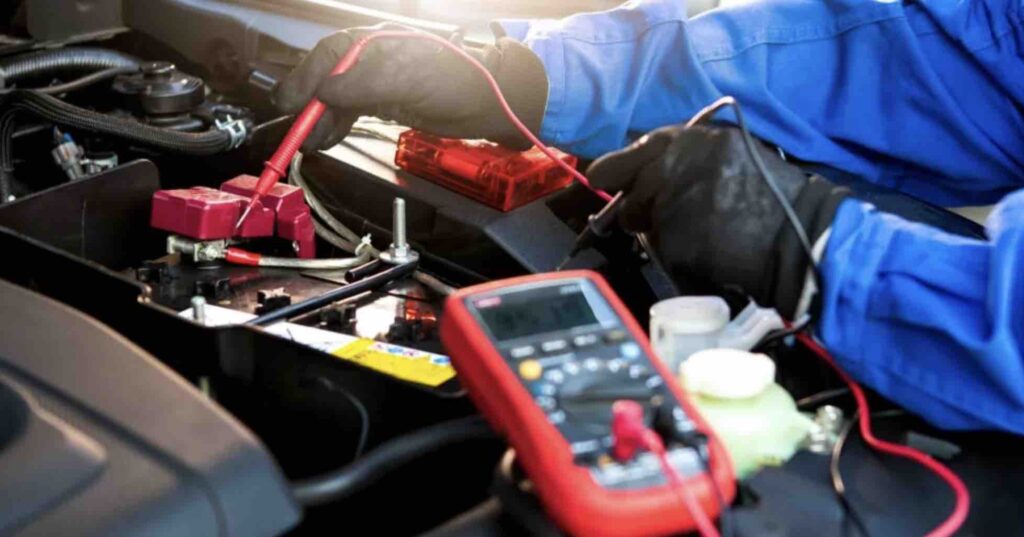
Step 2: Disconnect the Battery
Before beginning to work on your alternator, it is important to ensure that the battery has been disconnected in order to avoid any electrical shocks. To do this, locate the battery and unplug its negative cable using a wrench; loosening its nut holds it in place before pulling away from its terminal.
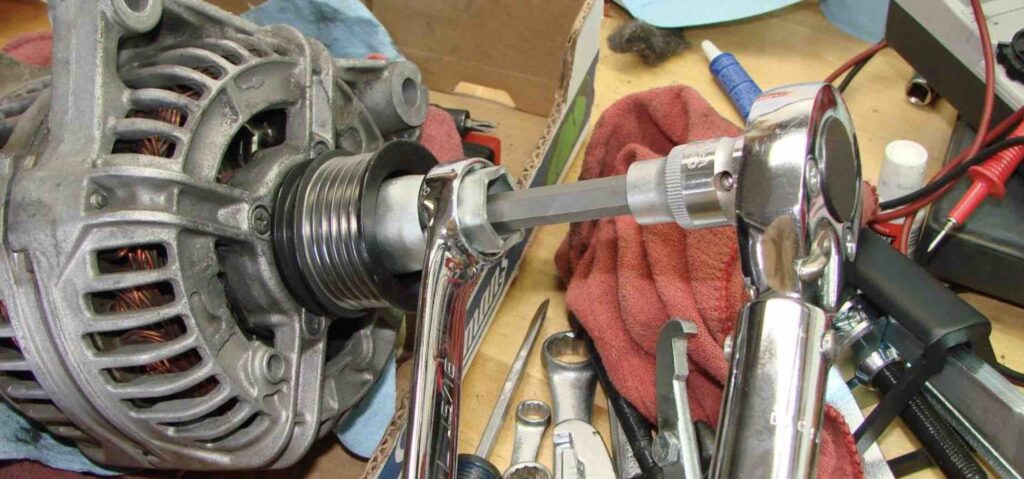
Step 3: Take out the alternator from your car
To complete this step, you’ll need to remove the alternator from your vehicle. You can do this by following these steps:
- Locate the alternator beneath the hood of your car.
- Use a socket wrench to loosen any bolts holding it in place, then take out the drive belt from its pulley.
- Disconnect any electrical connections to the alternator as well.
Step 4: Remove the alternator from your car
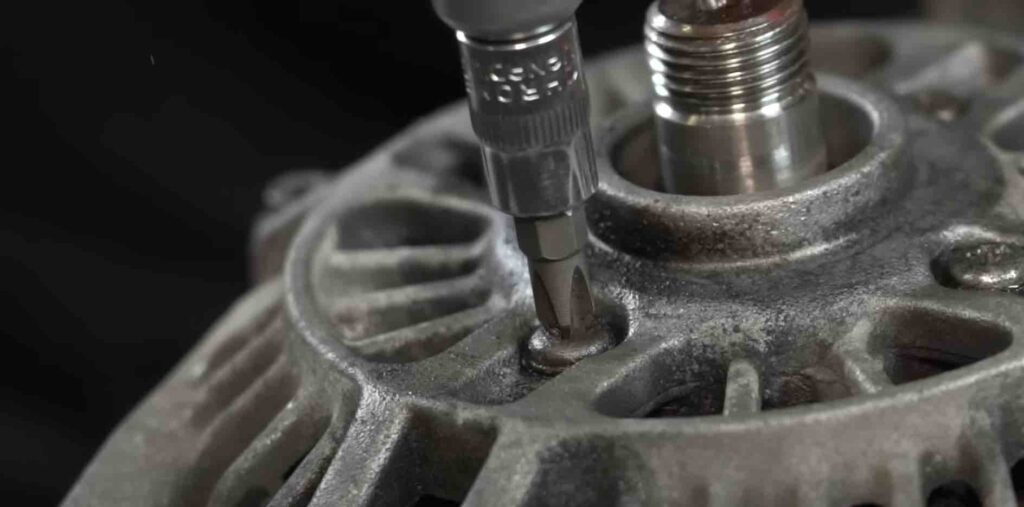
Checking the Resistance of the Rotor
The rotor is the rotating part of an alternator that generates a magnetic field. To check its resistance, perform these steps:
- Set your multimeter to the ohms setting.
- Connect the multimeter leads to the slip rings on your alternator.
- Check the reading on your multimeter; it should fall between 2 and 4 ohms.
- If the reading falls outside this range, repair or replace may be necessary.
Step 5: Check the stator
The stator is the stationary part of an alternator which generates electrical current. To inspect it, follow these steps:
- Connect the voltage regulator to the alternator and set it at 14 volts.
- Attach a multimeter to the stator output wires and read off the reading on your multimeter; it should be around 13 volts.
Step 6: Check the Diodes
The diodes are electronic components that allow electrical current to flow in one direction. To inspect them, perform these steps:
- Set your multimeter to the diode setting.
- Connect the multimeter leads to both positive and negative terminals on the diode.
- Check the reading on your multimeter; it should be around 0.5 ohms in one direction, with an open circuit in the other direction.
- If the readings are different, your diodes may need repair or replacement.
Step 7: Reassemble the Alternator
Once all components have been checked and repaired/replaced, it’s time to assemble the alternator again.
Here’s what needs to be done:
- Replace any damaged components, such as the rotor, stator, and diodes, with new ones.
- Reconnect all electrical connections to the alternator.
- Install it back into your vehicle by tightening any bolts holding it in place.
- Finally, reinsert the drive belt.
- Reconnect the battery by attaching the negative cable to its terminal.
- That should do it! Now you can test your alternator out of the car and determine if any repairs or replacements are necessary.
Conclusion
Try to be careful when working with electrical parts, and if you are still confused, please consult a professional mechanic or electrician for guidance.
Remember, these steps should only serve as a general guide that can be applied in most vehicles, however; specifics may vary depending on your vehicle’s alternator make and model.
By following these steps and using appropriate tools, you can guarantee that your alternator runs optimally and keeps your car running efficiently.
I hope this article on how to test an alternator off the car has helped you; share the post if you find it to be helpful.

Uchenna is a Radiographer and Auto parts mechanic who recently got his automotive diploma as an auto repair technician, and since then, has worked on fixing various car problems.
Working as just a radiographer, Uchenna didn’t just get all the fulfillment he desired, because he truly loved doing things tilted toward cars. As a kid, he would take apart his toy cars to see how they worked and would spend hours tinkering with his bike.
So, in 2017 he made the tough decision to become an auto mechanic. He threw himself into his studies and now loves every aspect of what he does.
He gets to work with his hands, solving problems and bringing cars back to life, and sharing his knowledge and easy quick-fix guide online are all part of what makes him feel fulfilled.