Last updated on April 17th, 2023 at 03:07 pm
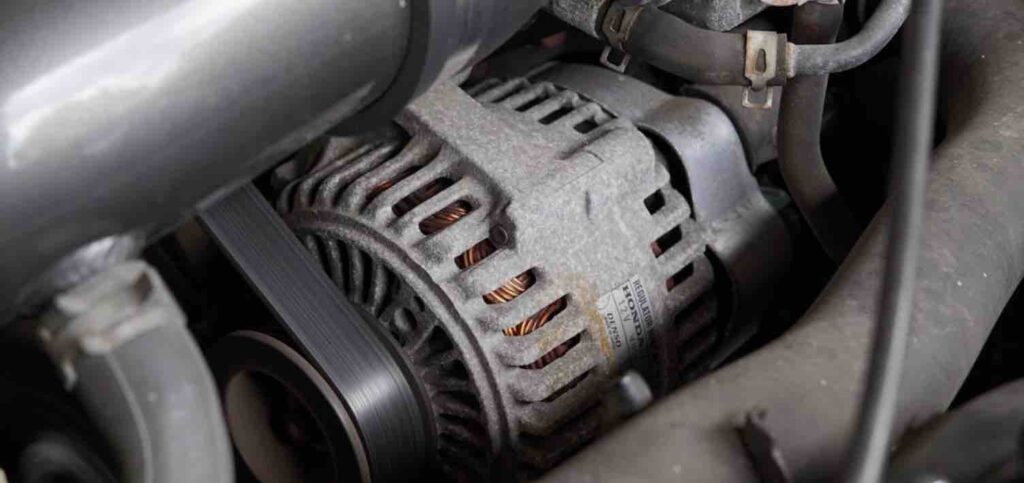
This article will show you how to test alternator by disconnecting battery both positive and negative batteries. Your car’s alternator is essential in keeping your vehicle’s electrical system working smoothly. It charges the battery and supplies power to various components of the car’s electrical system.
However, when an alternator isn’t functioning correctly, it may cause symptoms like dimming headlights, slow starting, or even a dead battery.
If you think your alternator is not working as it should, then I recommend performing a quick test by disconnecting its battery. This can help determine if the alternator is damaged.
Before we continue with the steps, here are other questions that I will address in this post, Which battery terminal do you disconnect to test the alternator, Can you check an alternator by disconnecting the battery, and what happens if I disconnect the battery while the car is running?
So, first of all, let’s start with the question, “ Can you check an alternator by disconnecting the battery”?
Can you check an alternator by disconnecting the battery?
Yes, you can text, or check your car alternator’s performance by disconnecting your car battery, and you can even do this while your engine is running. Disconnecting the battery allows the car’s electrical system to run on power generated by the alternator; if everything’s functioning properly, no issues should arise during operation.
And if your car alternator is not working when you disconnect the battery, your car will shoot off. You can follow the how-to-test alternator by disconnecting the battery below for a guide.
How to test alternator by disconnecting battery positive or negative
Here is a quick step-by-step guide on how to test alternator by disconnecting the battery:
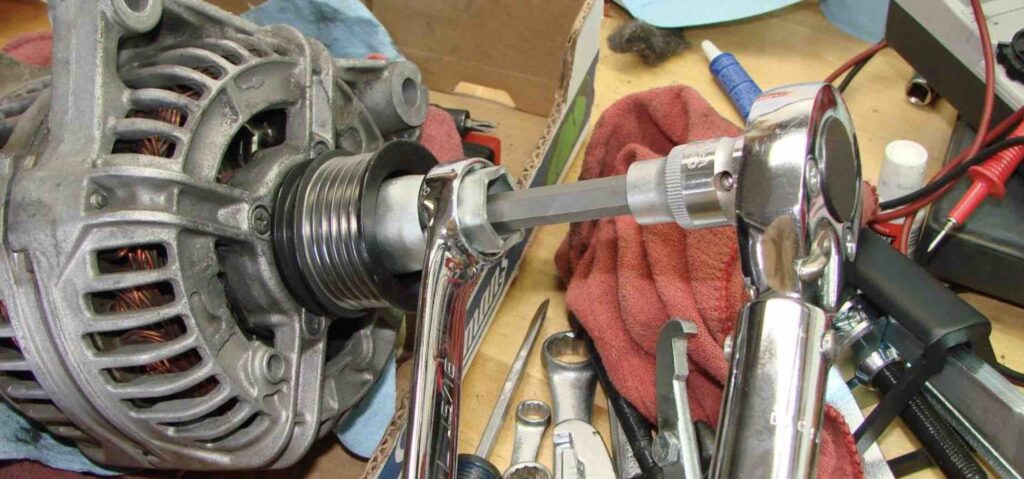
Step 1: Gather your tools
Before you begin the test, ensure you have all the necessary tools. You will require a voltmeter, wrench, wire, and battery charger. If you don’t own one already, borrow or purchase one from an auto parts store.
You may read this guide for other ways to text other ways to test your car alternator.
Step 2: Shutoff the engine
You must start by turning off your car engine and ensuring your car is in park or neutral before beginning any electrical repairs. Doing so could put the engine at risk.
Step 3: Disconnect the battery
Once your car’s hood is open, locate the battery. Use a wrench or the screwdriver to loosen its negative terminal, usually marked with a minus (-) sign. Carefully pull away this cable from the battery. Be sure to place it somewhere safe so that it won’t come into contact with any metal parts of the car.
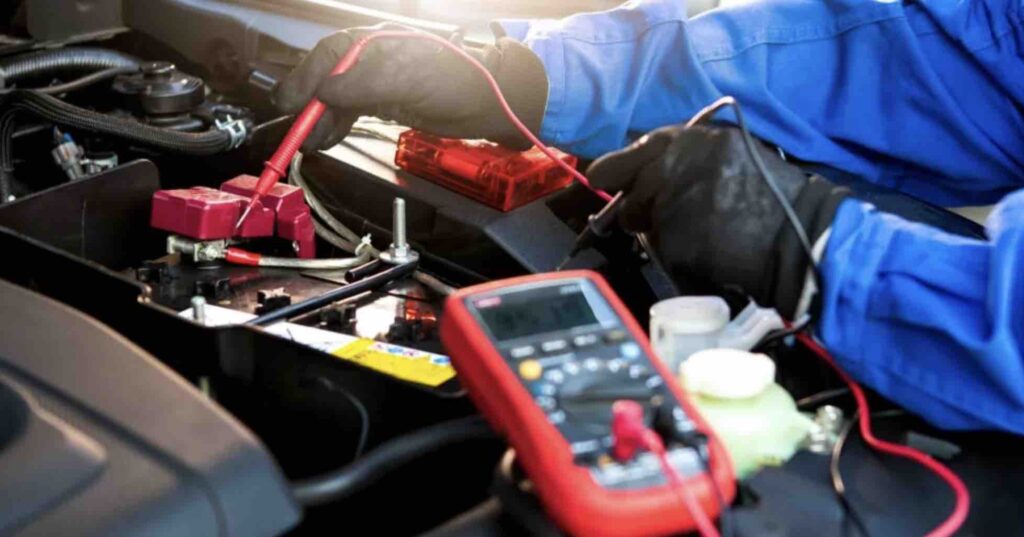
Step 4: Connect the Voltmeter
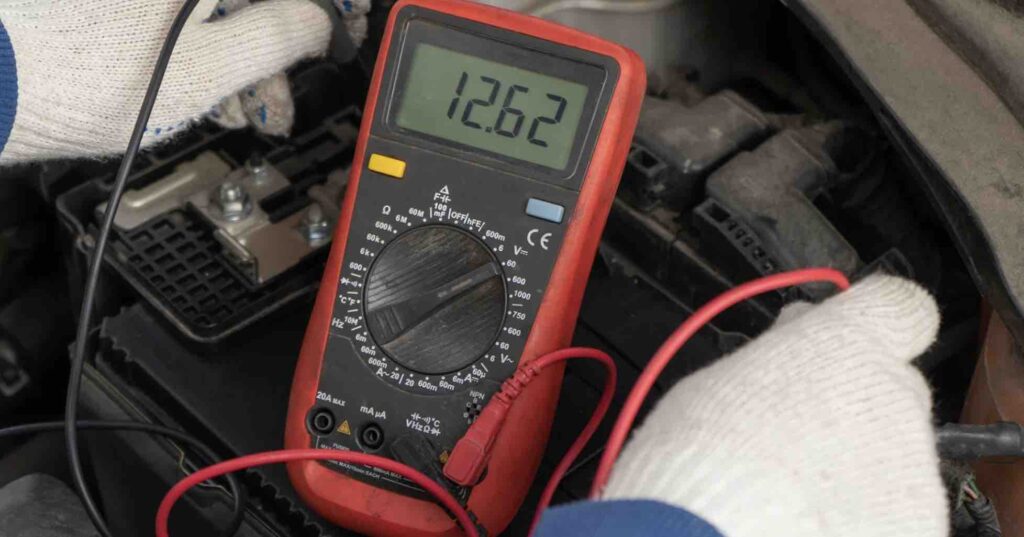
When your car’s battery is disconnected, you want to use your voltmeter now to check the voltage output from the alternator. Connect its positive lead to the positive battery terminal. Next, attach its negative lead to any metal part of your engine or chassis as a ground source. Ensure this connection is secure at all times.
Step 5: Verify the voltage output voltage
Connect the voltmeter and start the engine. It should start without any problems, but you may notice the dashboard lights are dimmer than usual. This is because the battery has been disconnected, and all power is coming from the alternator alone. Let the car run for a few minutes to let the alternator warm up.
Check the voltage output on a voltmeter. Generally, readings between 13.5 to 14.5 volts should be accurate; if it falls below this range, it could indicate that your alternator isn’t charging your battery properly.
Step 6: Switch on all electrical components
Now it’s time to test the alternator’s performance under load. Turn on all electrical components in your car, including headlights and air conditioners. Make sure the voltage reading on a voltmeter does not dip below 13 volts; if so, this could indicate an issue with its operation.
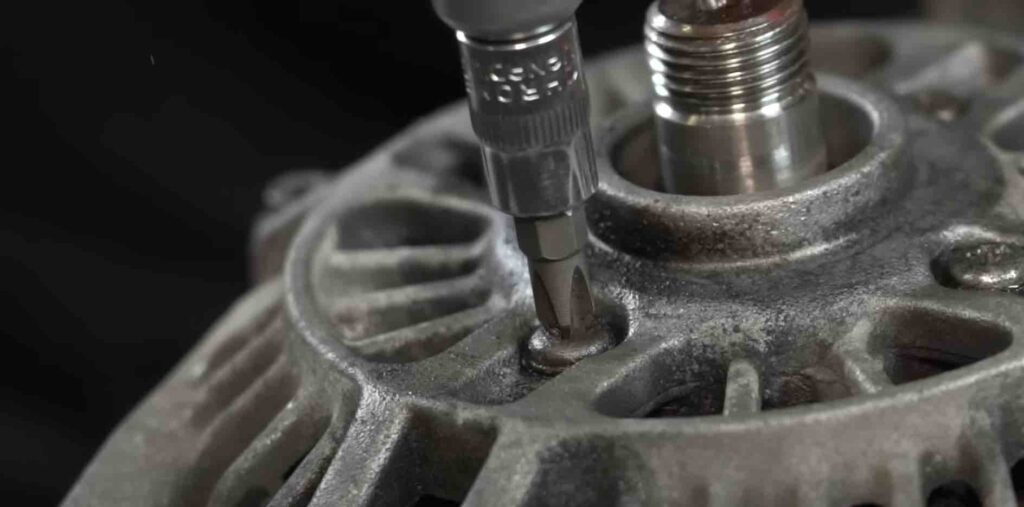
Step 7: Test the Diode
The diode is an integral component of an alternator, converting AC current from the alternator into DC current. A defective diode can cause issues with the performance of the alternator.
how to Test for a bad Diode
To test it, set your voltmeter to AC voltage range and connect one lead to the positive battery terminal and the other lead to the output stud on the alternator.
Ensure readings are less than 0.5 volts – any higher reading could indicate a problem with your diode.
Step 8: Reconnect the battery
After testing the alternator, it’s time to reconnect the battery. First, turn off all electrical components and attach a negative cable to the negative battery terminal with a wrench; make sure this connection is secure.
Step 9: Recharge the Battery
Now that the battery has been reconnected, it is time to charge it back up. Not having a fully charged battery could affect the results of an alternator test; therefore, use a battery charger until full capacity has been achieved.
Step 10: Monitor the Battery
Once you have finished testing and charging the battery, it is essential to monitor its condition over the next several days. Check dashboard lights and the performance of electrical components in your car; any issues could indicate a problem with an alternator.
FAQ
What happens if I disconnect the battery while the car is running?
Disconnecting the battery while your car is running is not recommended as it can damage its electrical system. Doing so interrupts the electrical flow to various components in your car’s circuitry and may cause voltage regulators in alternators to malfunction, leading to overcharging of either your battery or other electrical items in your vehicle.
Disconnecting the battery while your car is running can cause an electrical surge that could damage sensitive electronic parts, such as alternators, fuses, and other electrical devices.
It’s essential to note that disconnecting the battery of your while your car is running can be hazardous as it could cause the engine to stop abruptly, potentially leading to loss of control over the vehicle. Therefore, make sure the engine is turned off and put in park or neutral before you attempt to disconnect your vehicle’s battery.
Overall, it’s not recommended to disconnect the battery while your car is running. If you must test the alternator, take all appropriate steps and disconnect with the engine turned off.
Which battery terminal do you disconnect to test the alternator?
If you follow through with the step above, you will notice that when testing your car’s alternator, you can start off by disconnecting the negative battery terminal which is marked with a minus sign (-). Disconnecting this cable interrupts electrical flow in the car and allows you to test its output without interference from the battery. However, you have to bear in mind that disconnecting the battery also resets your vehicle’s electronic or electrical systems, such as clock and radio presets. So be sure to reset them after your test and when you have reconnected your car battery back.
Conclusion
I hope you find this article on how to test alternator by disconnecting battery positive or negative, to be helpful.
Testing your car’s alternator by disconnecting the battery is a straightforward and effective way to verify if your alternator is functioning correctly. With this step-by-step guide, you can perform this test in your driveway with minimal tools listed.
However, if you feel uneasy working on your car’s electrical system, seek professional assistance from an experienced mechanic. They will quickly diagnose any problems with your alternator and guarantee your car runs optimally.

Uchenna is a Radiographer and Auto parts mechanic who recently got his automotive diploma as an auto repair technician, and since then, has worked on fixing various car problems.
Working as just a radiographer, Uchenna didn’t just get all the fulfillment he desired, because he truly loved doing things tilted toward cars. As a kid, he would take apart his toy cars to see how they worked and would spend hours tinkering with his bike.
So, in 2017 he made the tough decision to become an auto mechanic. He threw himself into his studies and now loves every aspect of what he does.
He gets to work with his hands, solving problems and bringing cars back to life, and sharing his knowledge and easy quick-fix guide online are all part of what makes him feel fulfilled.